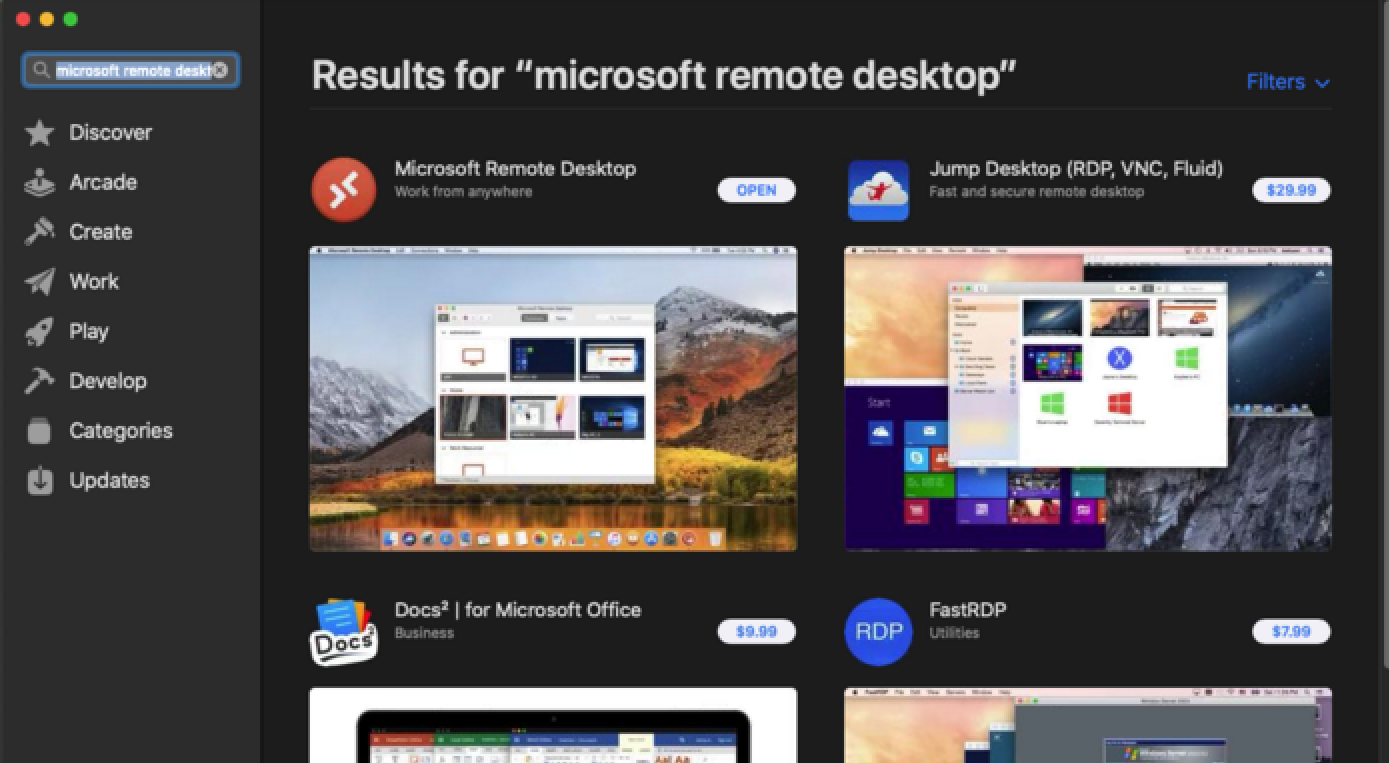
Install the Client
If you don't already have it, open the App Store and install Microsoft Remote Desktop
Launch the Client

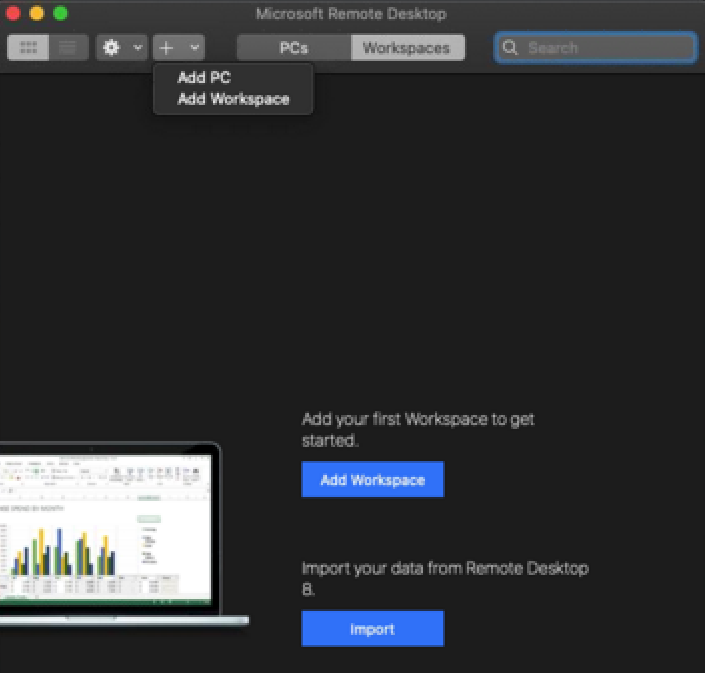
Add a Workspace
By default PCs are selected, choose Workspaces.
Click Add Workspace. Alternatively, click the PLUS icon to add a new workspace.
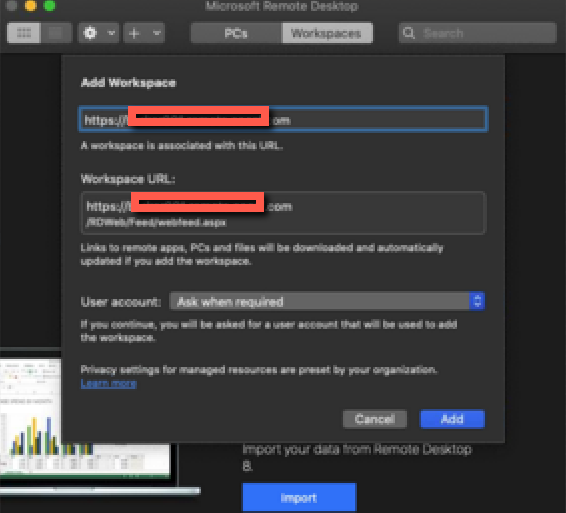
Define the Workspace
Enter the URL for the workspace:
https://broker001.remote.aocsf.com
Click the User Account dropdown and select Add User Account
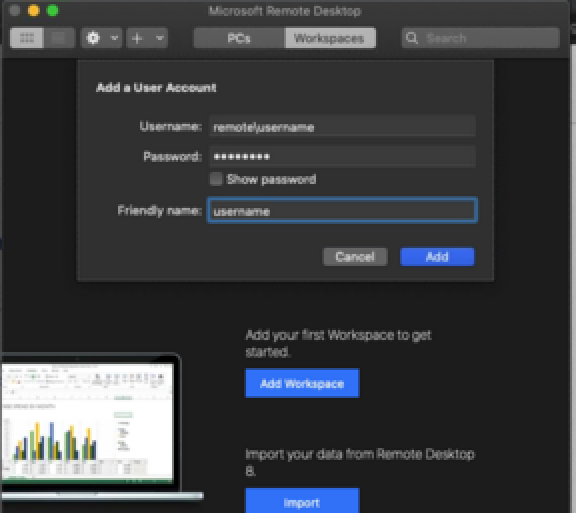
Add your user account
Choose User Account >Add User Account and enter your username and password. Remember to prefix your username with 'remote\'
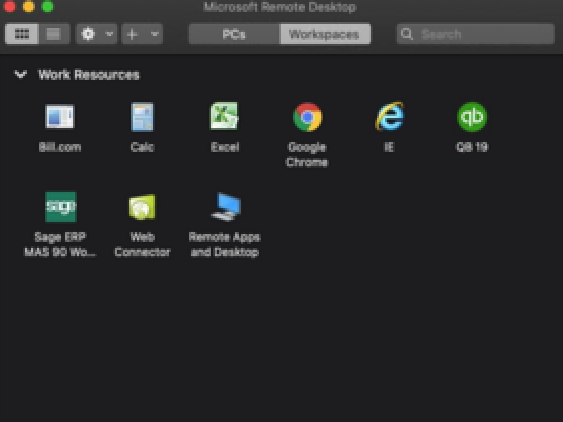
List Work Resources
Once you have finalized adding of the account, the items that are listed in the RemoteApps and Desktop Connections web portal will be displayed in the Work Resources Section, in the Workspaces tab